By Lyndsey Balfe and Jean Ni Cheallaigh
Prototyping Apps with Keynote and Bringing Ideas to Life with Swift Playgrounds
No idea where to get starting with coding in class? Here are some top tips we use in our classrooms when getting started with code. Why don’t you give them a go during this years code week?
Many teachers struggle to see how they can start with coding and worry that they waste clas time with getting students to “log in” to various platforms. The disappointment sets in then as the students are heading out the door with their bags before we have even clicked “Go”. This blog is designed to guide you through the coding basics and give some practical
First Steps;
You need to put yourself and your students in the mindset of a problem solver before you introduce any coding languages. Posing a problem or engaging students in a problem to solve often is the key to starting them on their journey.
Posing the Question and introducing Keynote
How about you start by asking the students if they could make any app that would improve something in their school life, what would it be?
Allow them to work in groups to come up with their ideas.
Introduce the keynote app and its features like adding shapes and text, customising, basic animating etc. This allows students to understand that keynote can be more than just a presentation app, it can be a a design space for all. To understand more about using keynote, visit the Apple Learning Centre. This link allows you to learning the basics of keynote note from adding slides to animation. It might be a nice idea to do this as an introductory activity before you proceed with prototyping.
Why Use Keynote for Prototyping?
Getting Started with the App
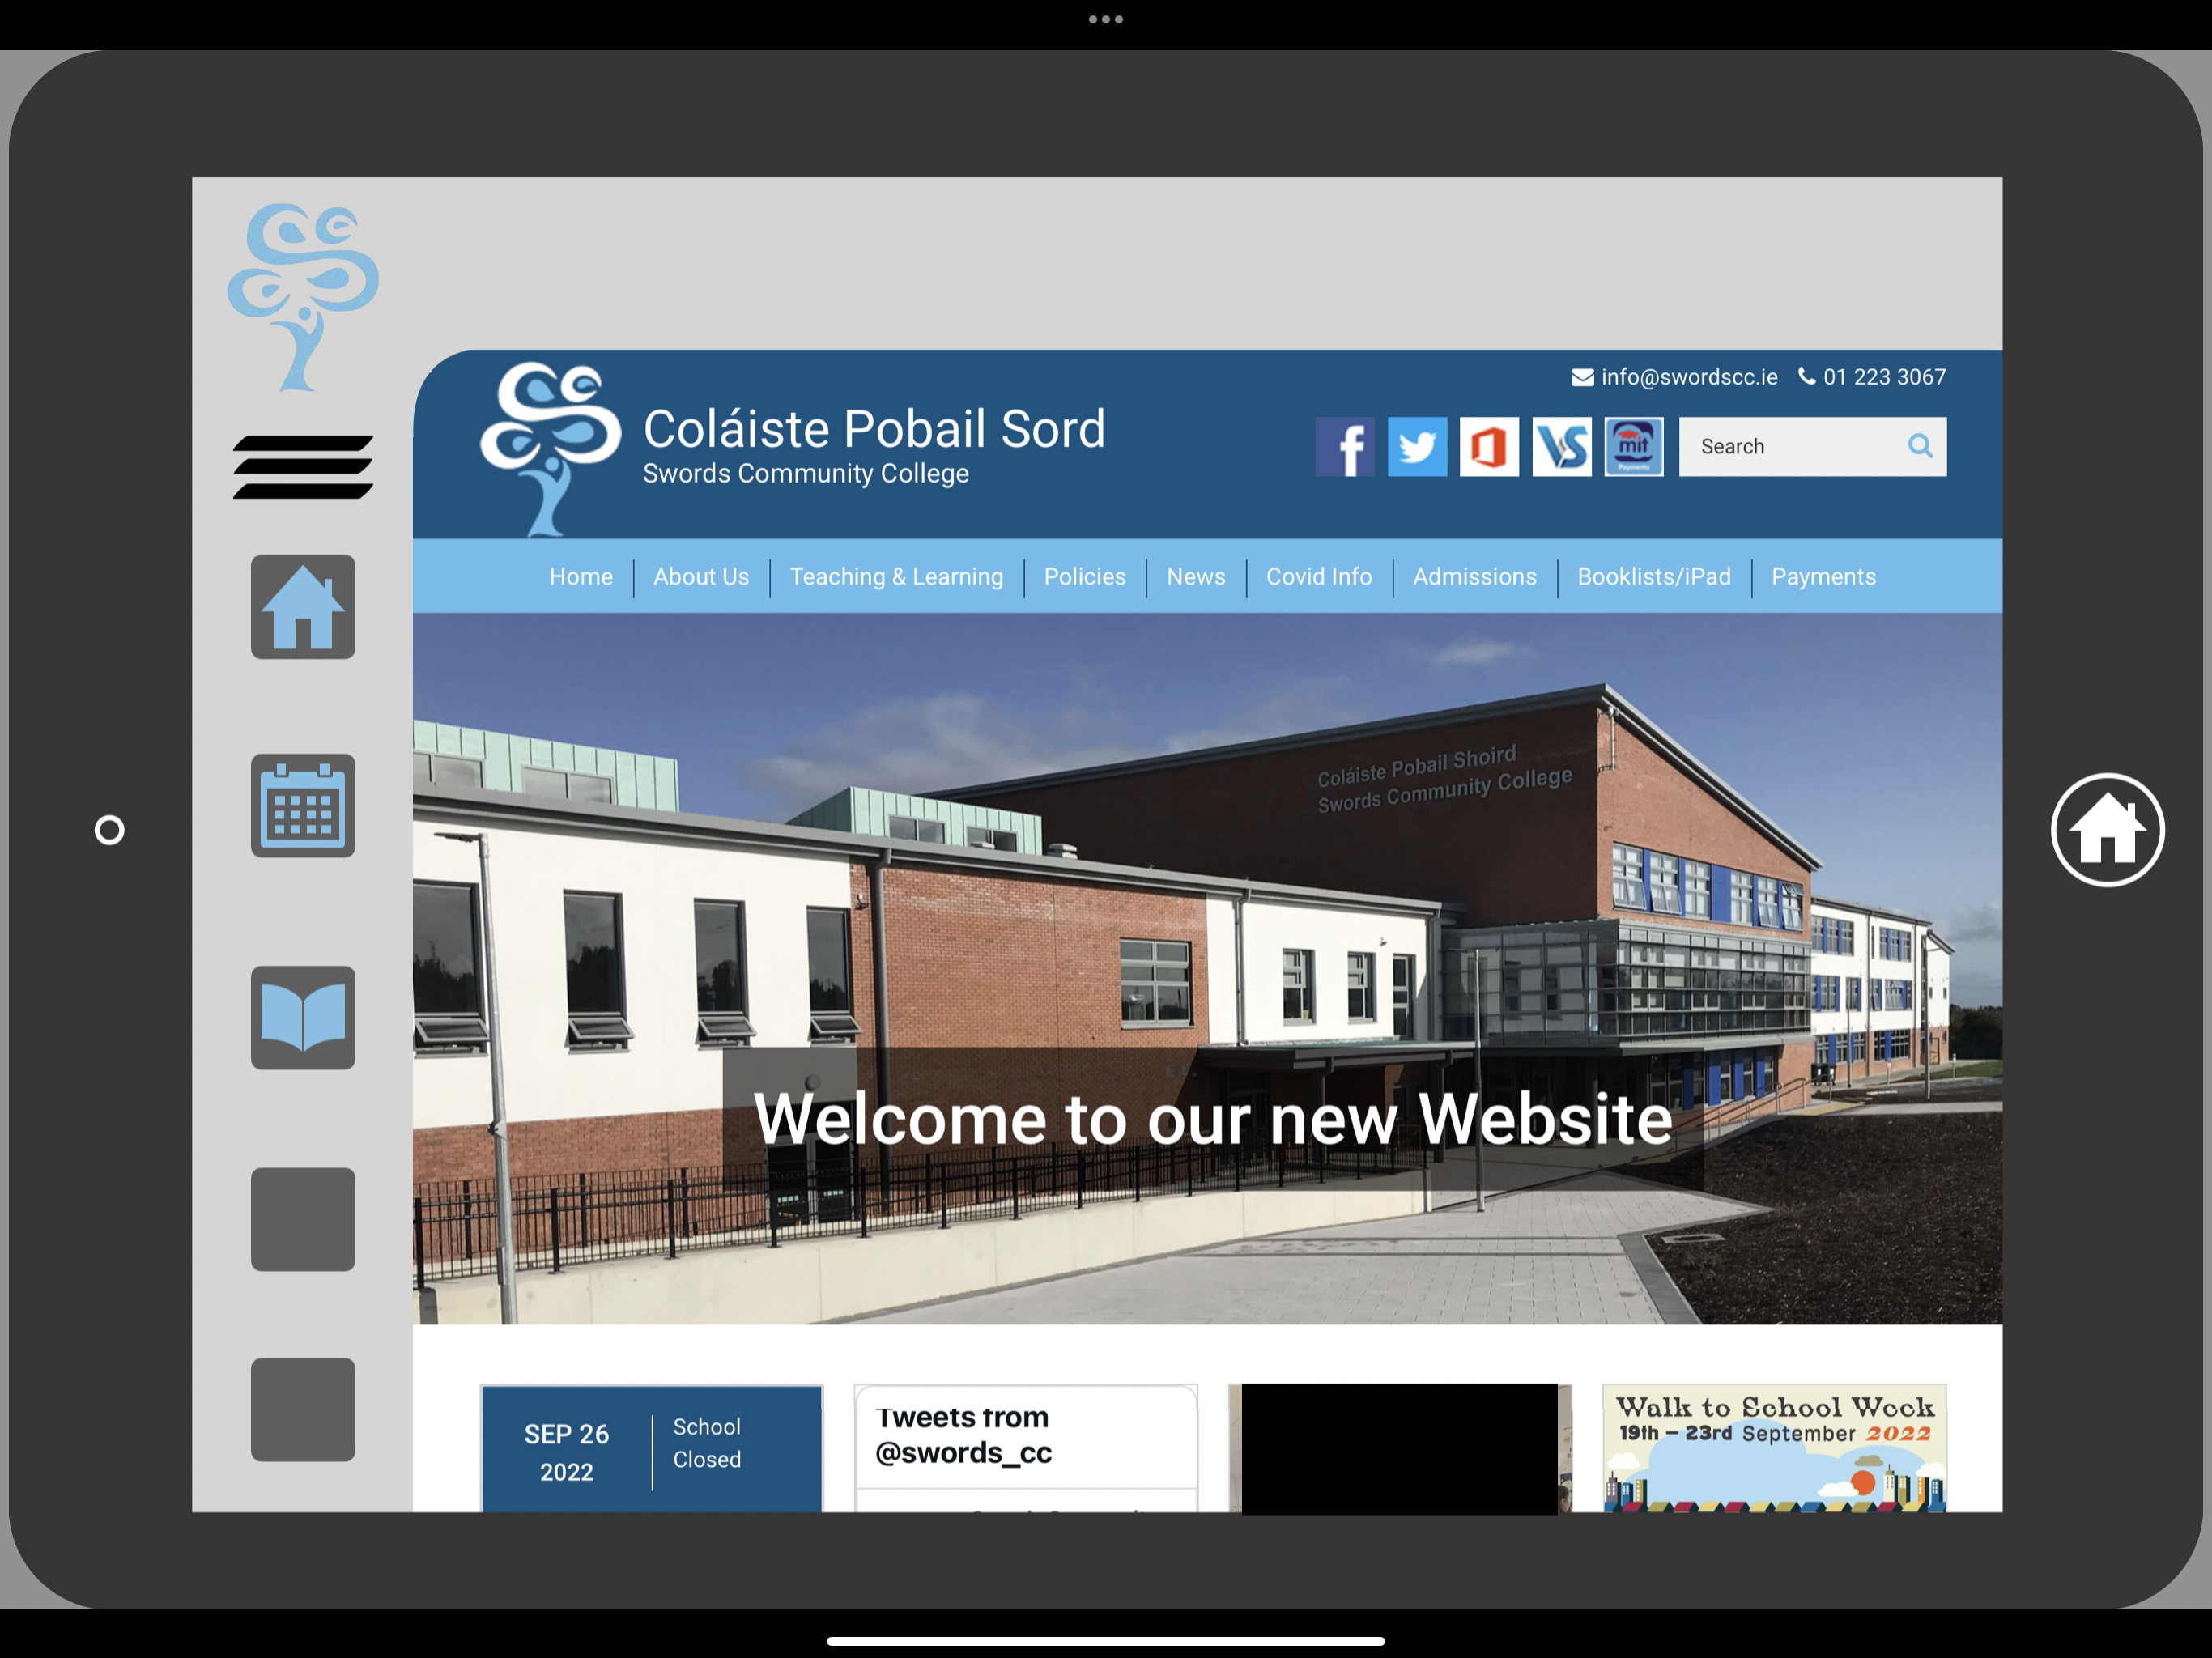
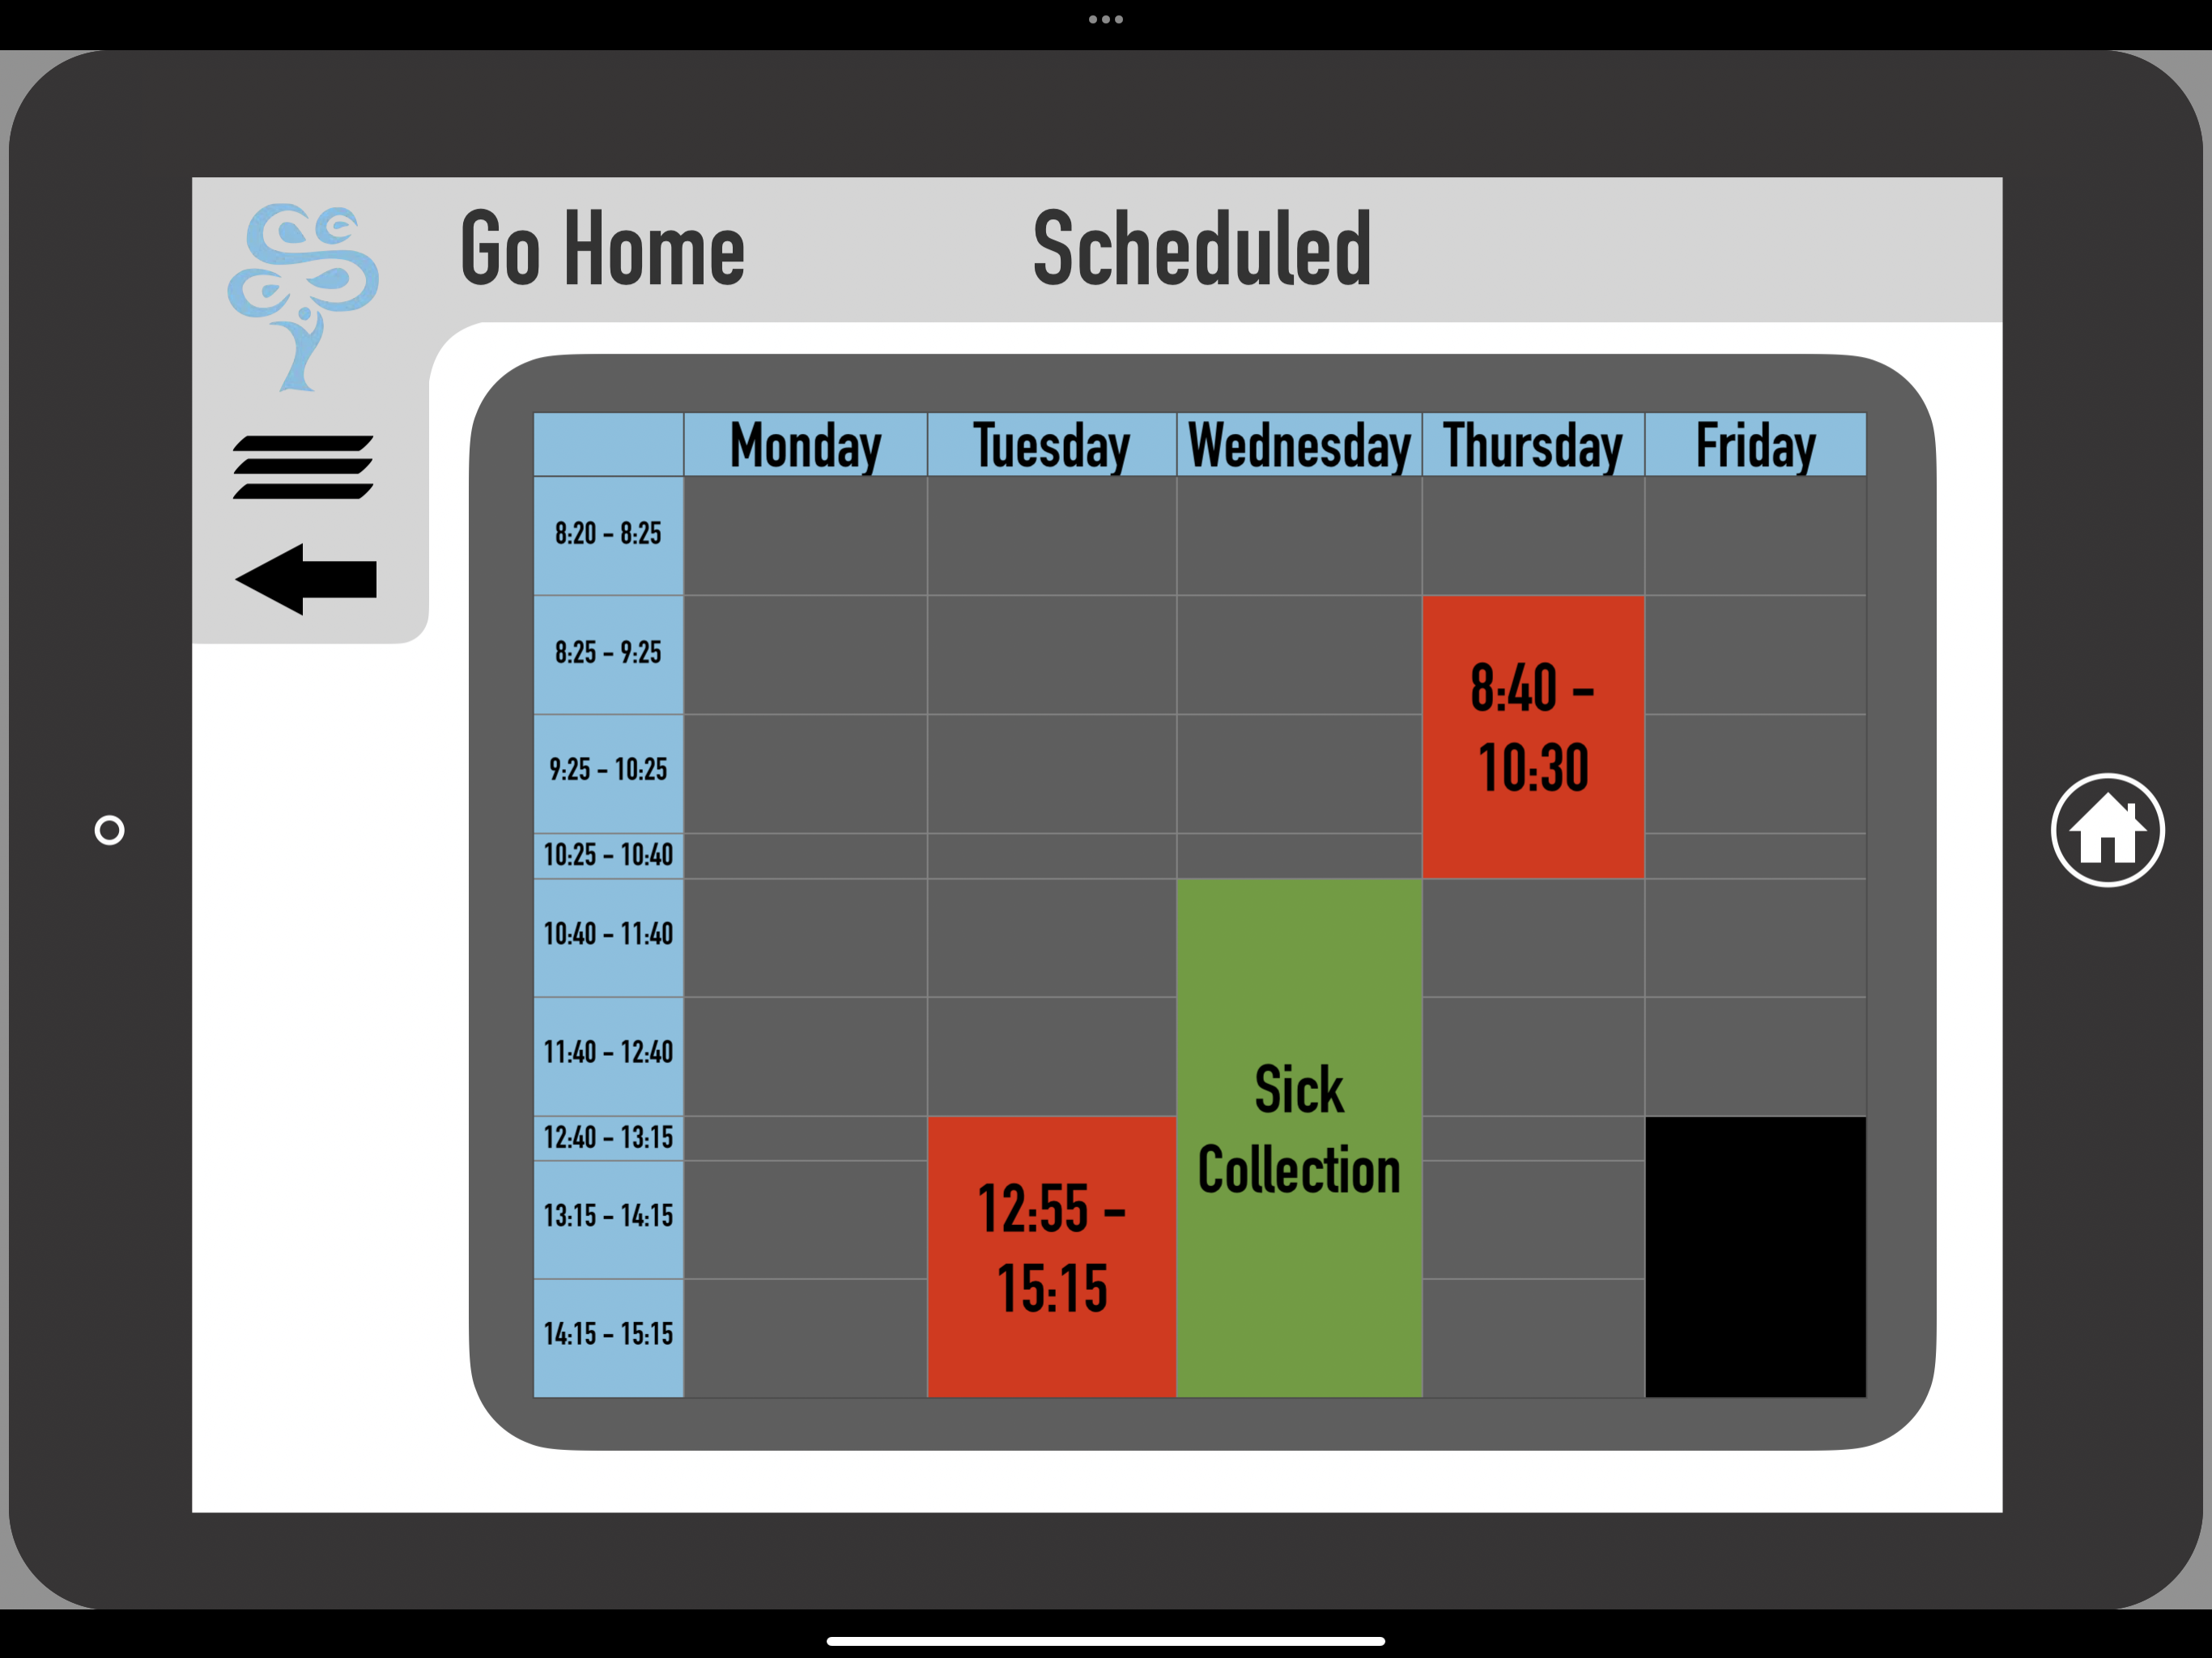
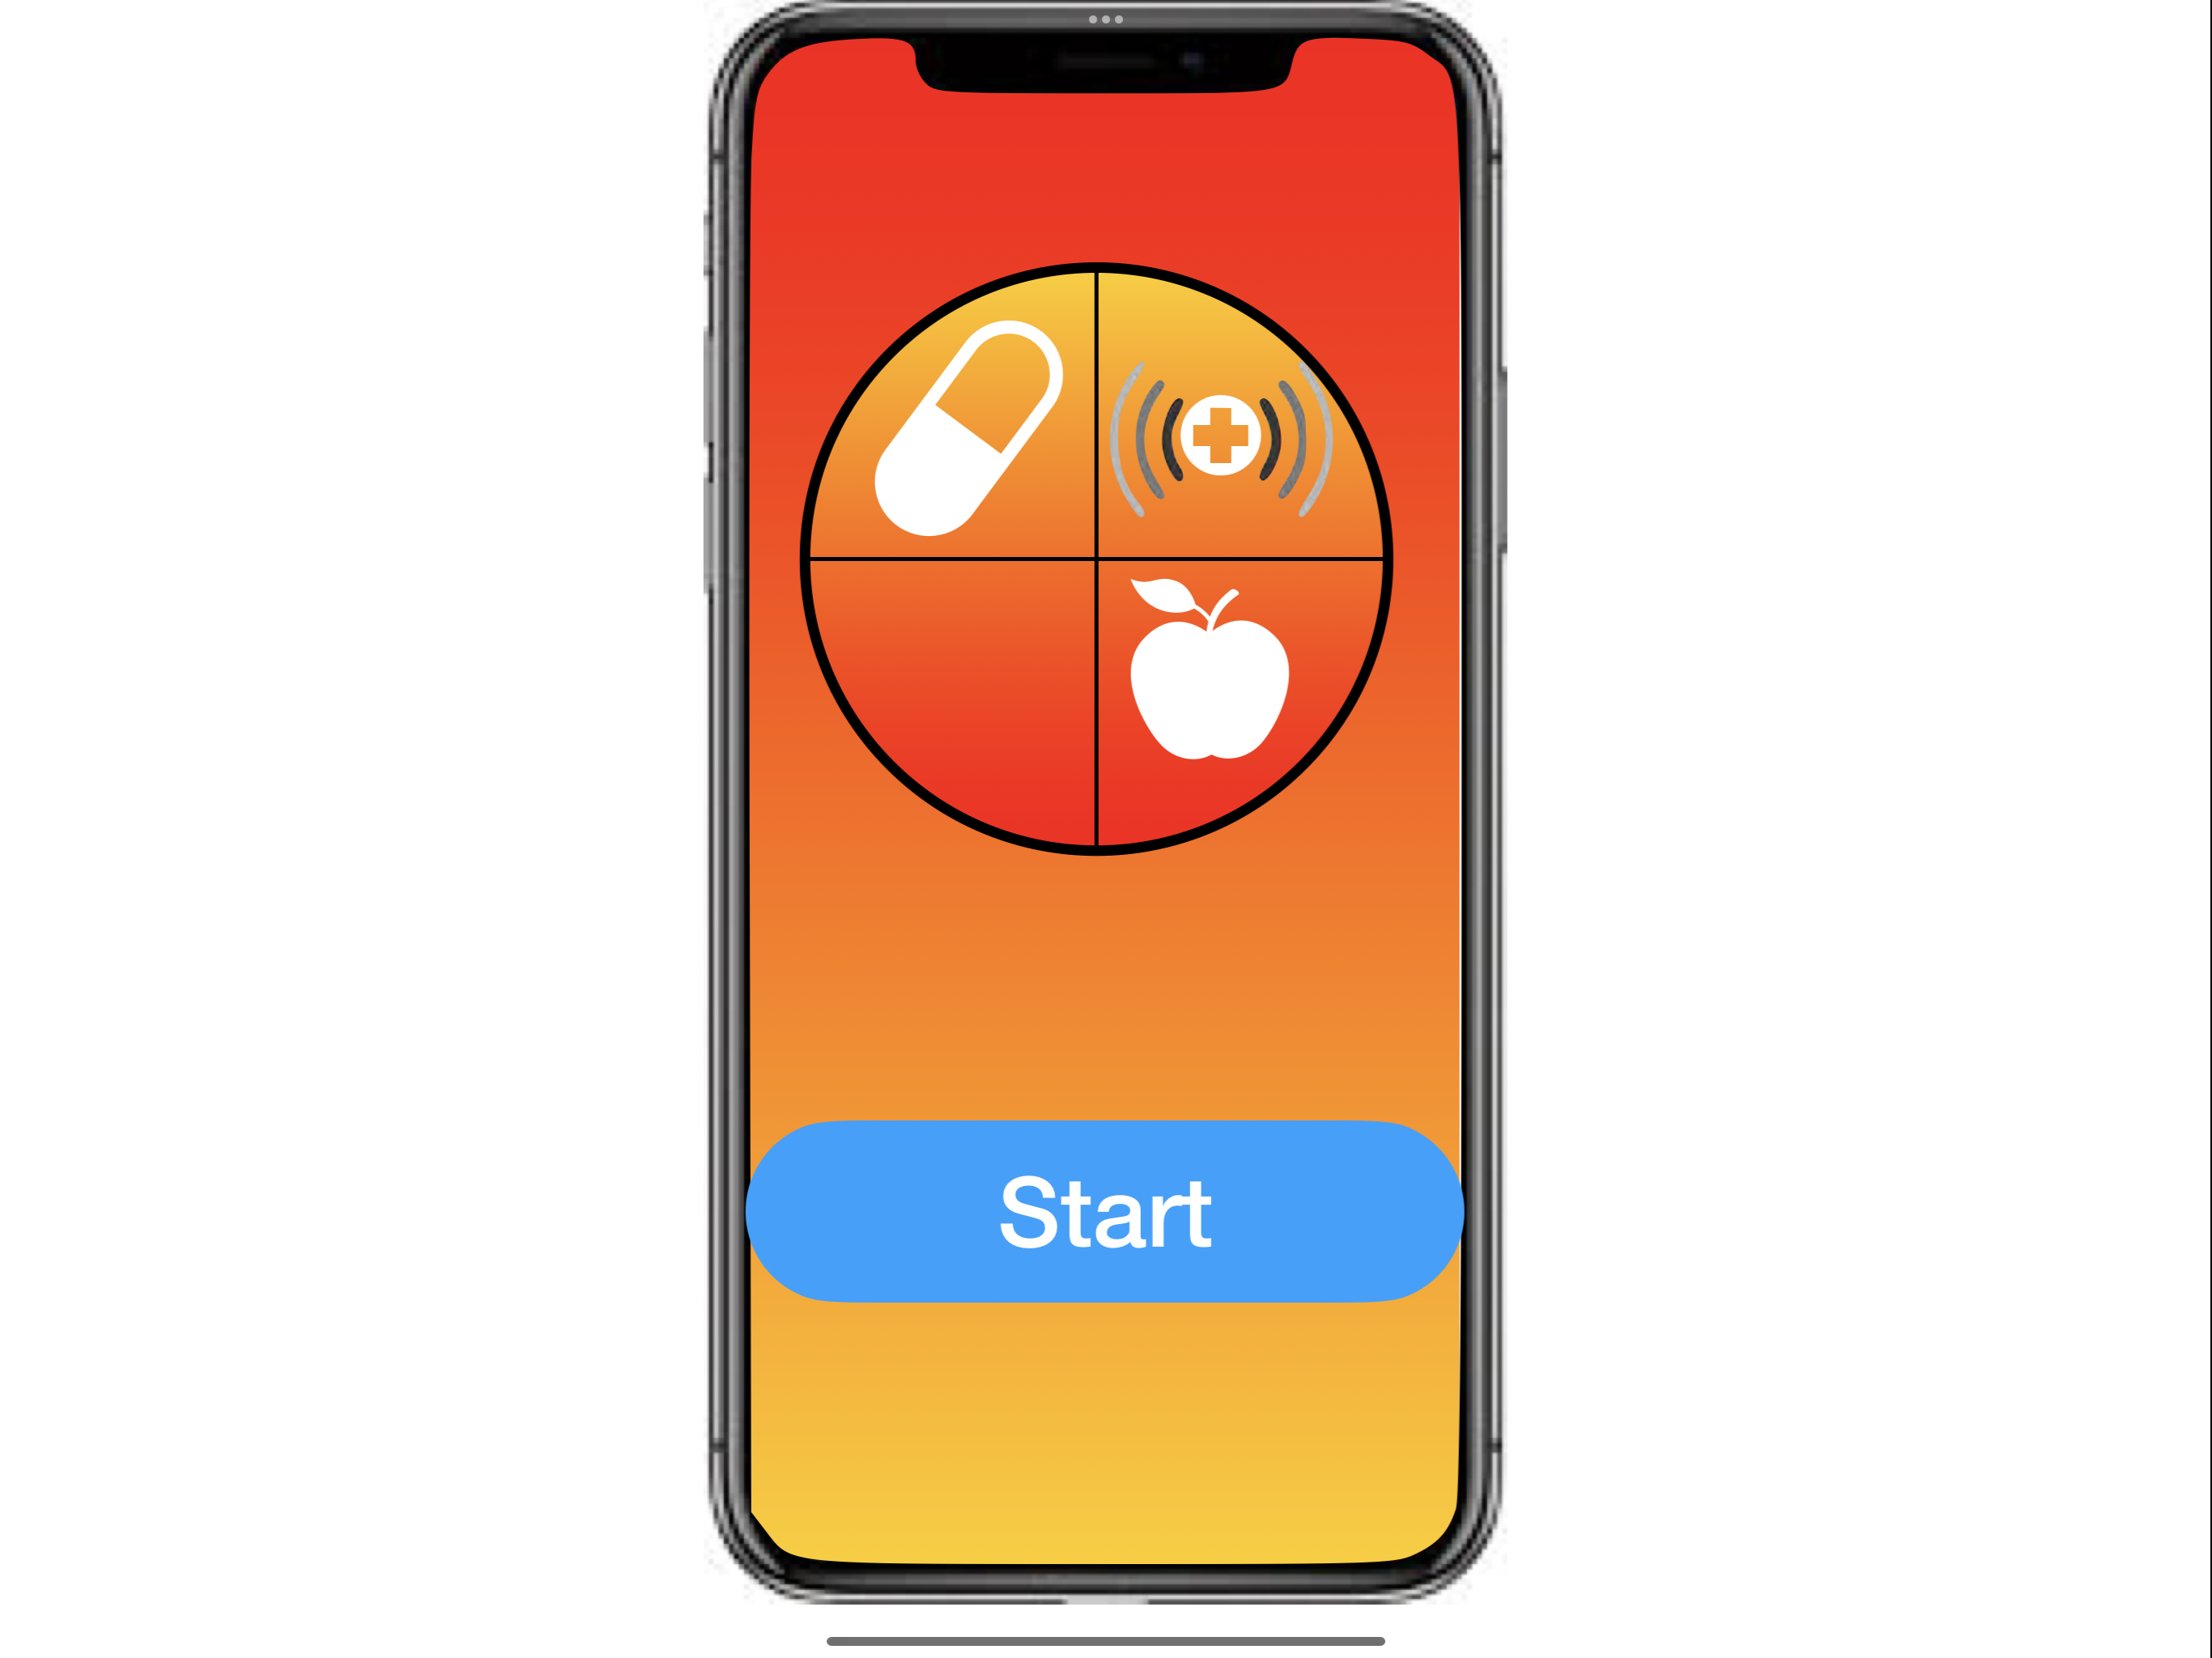
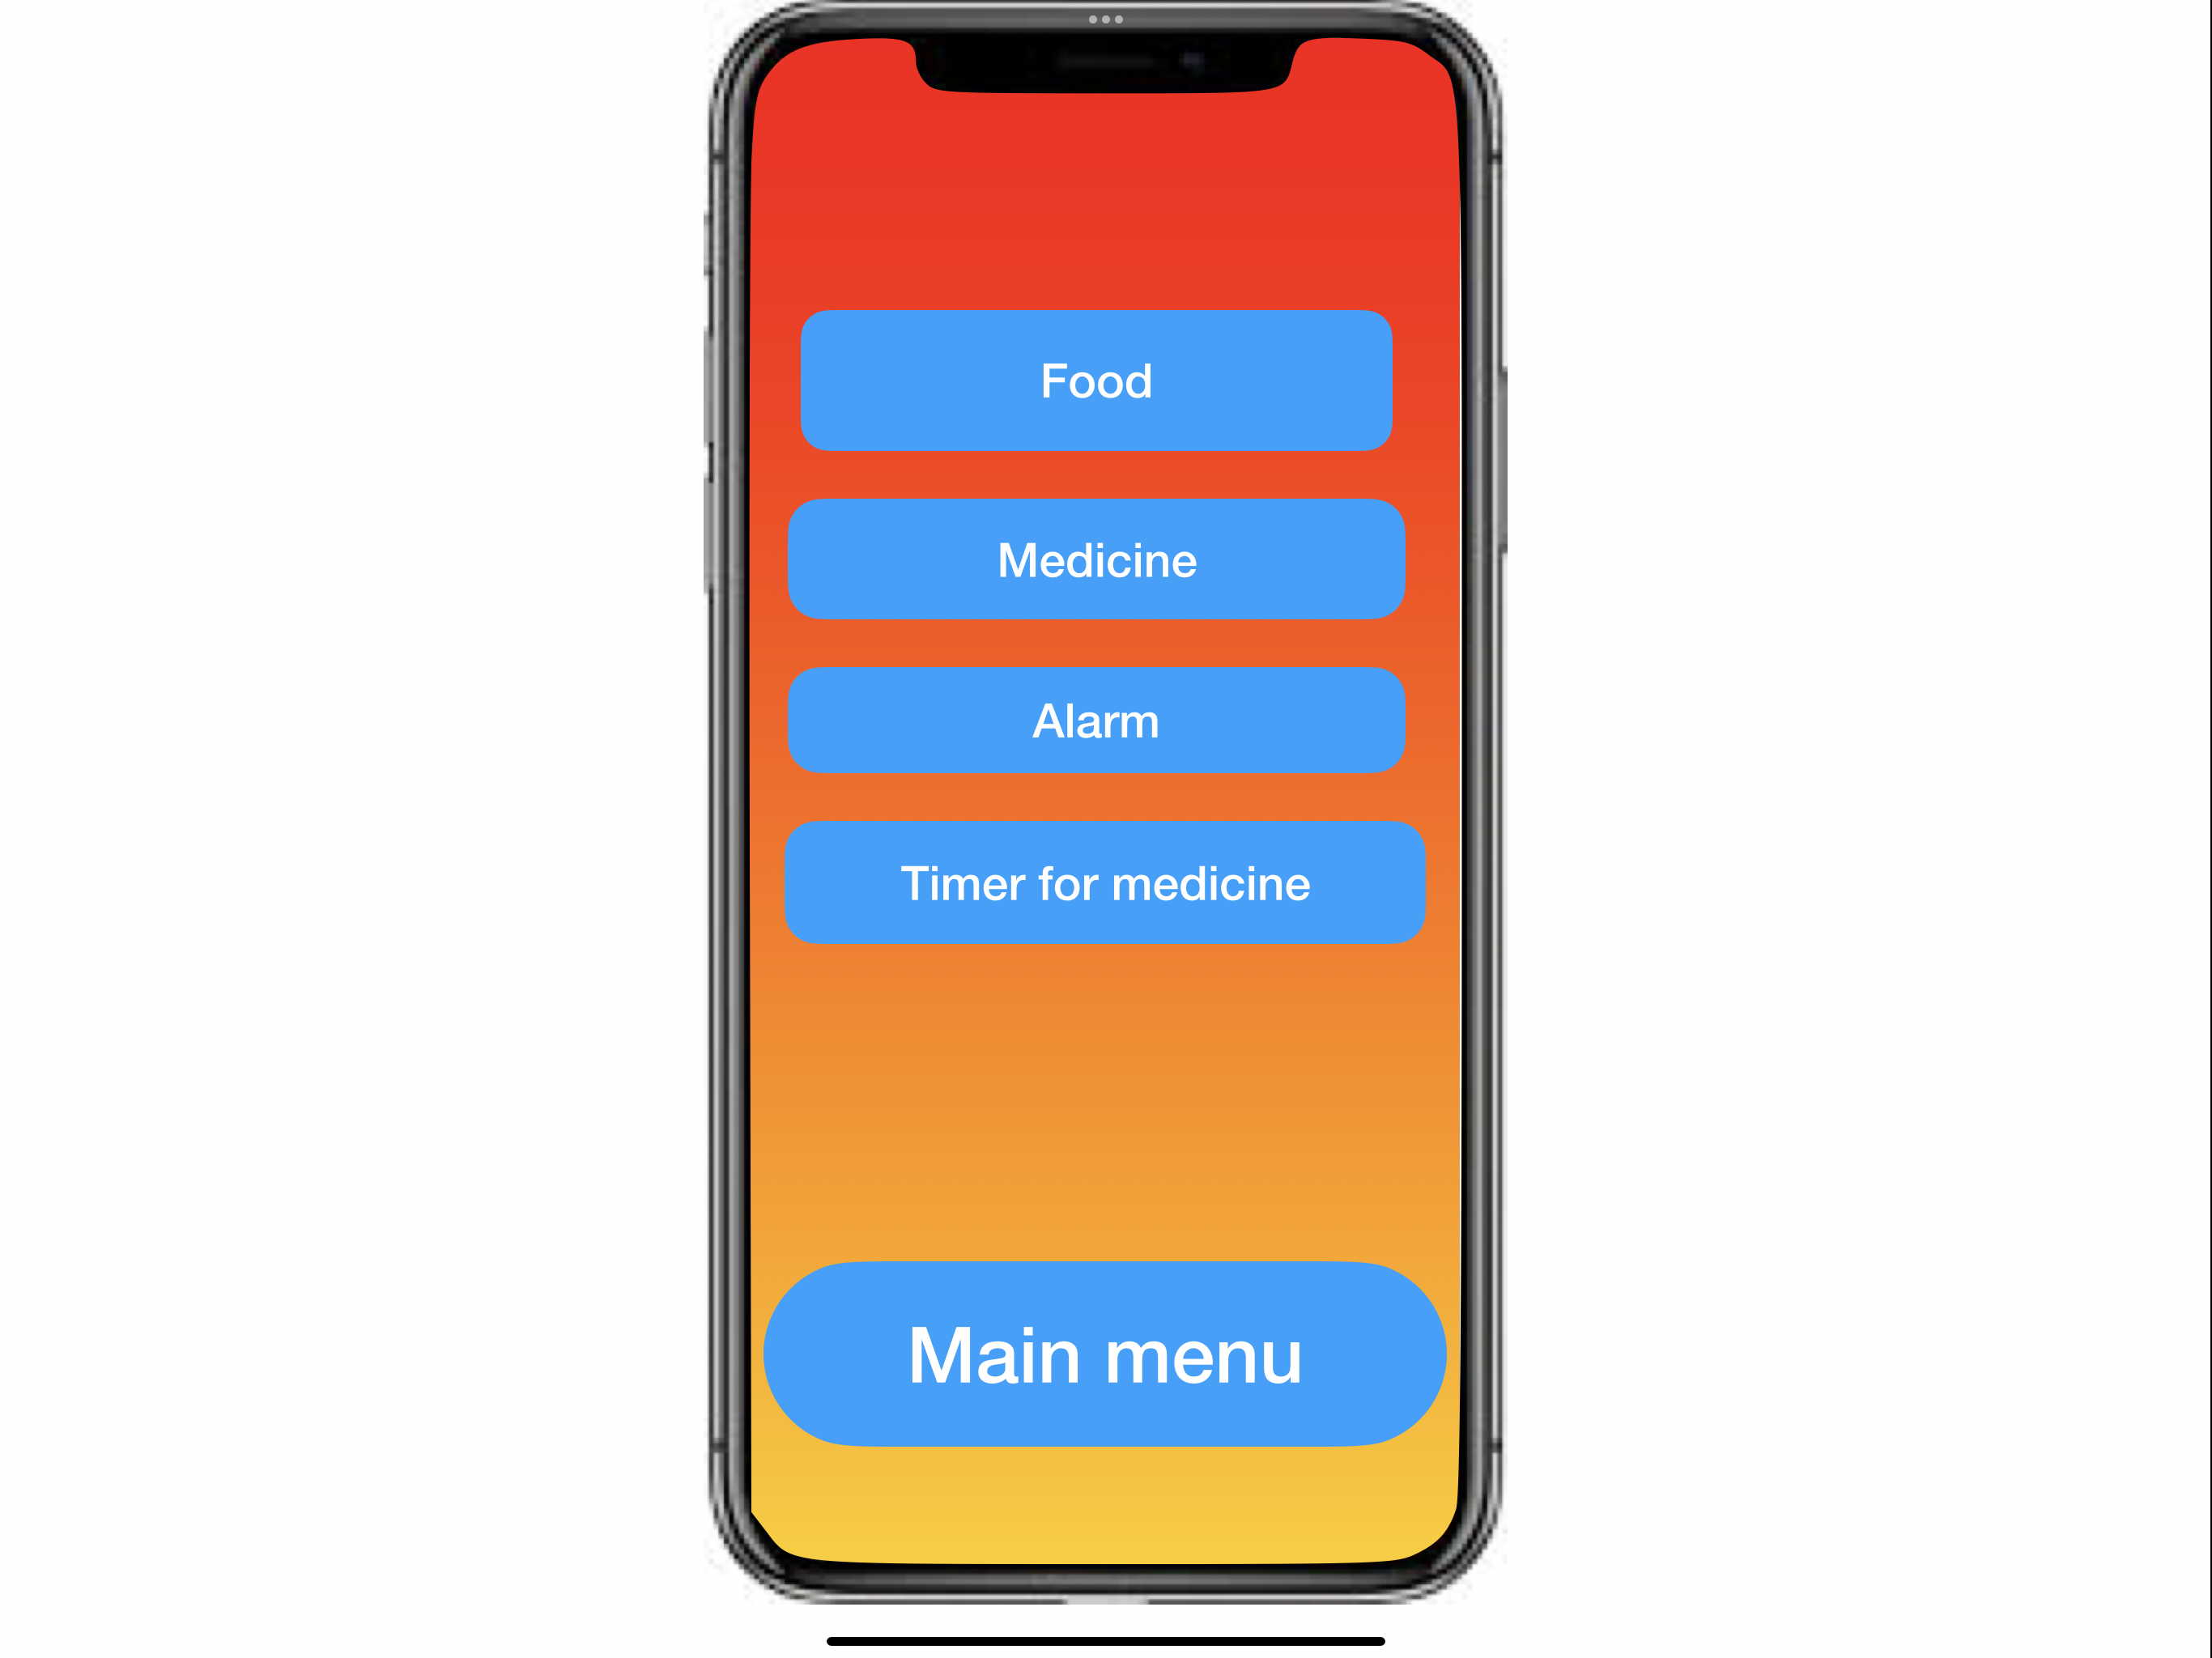
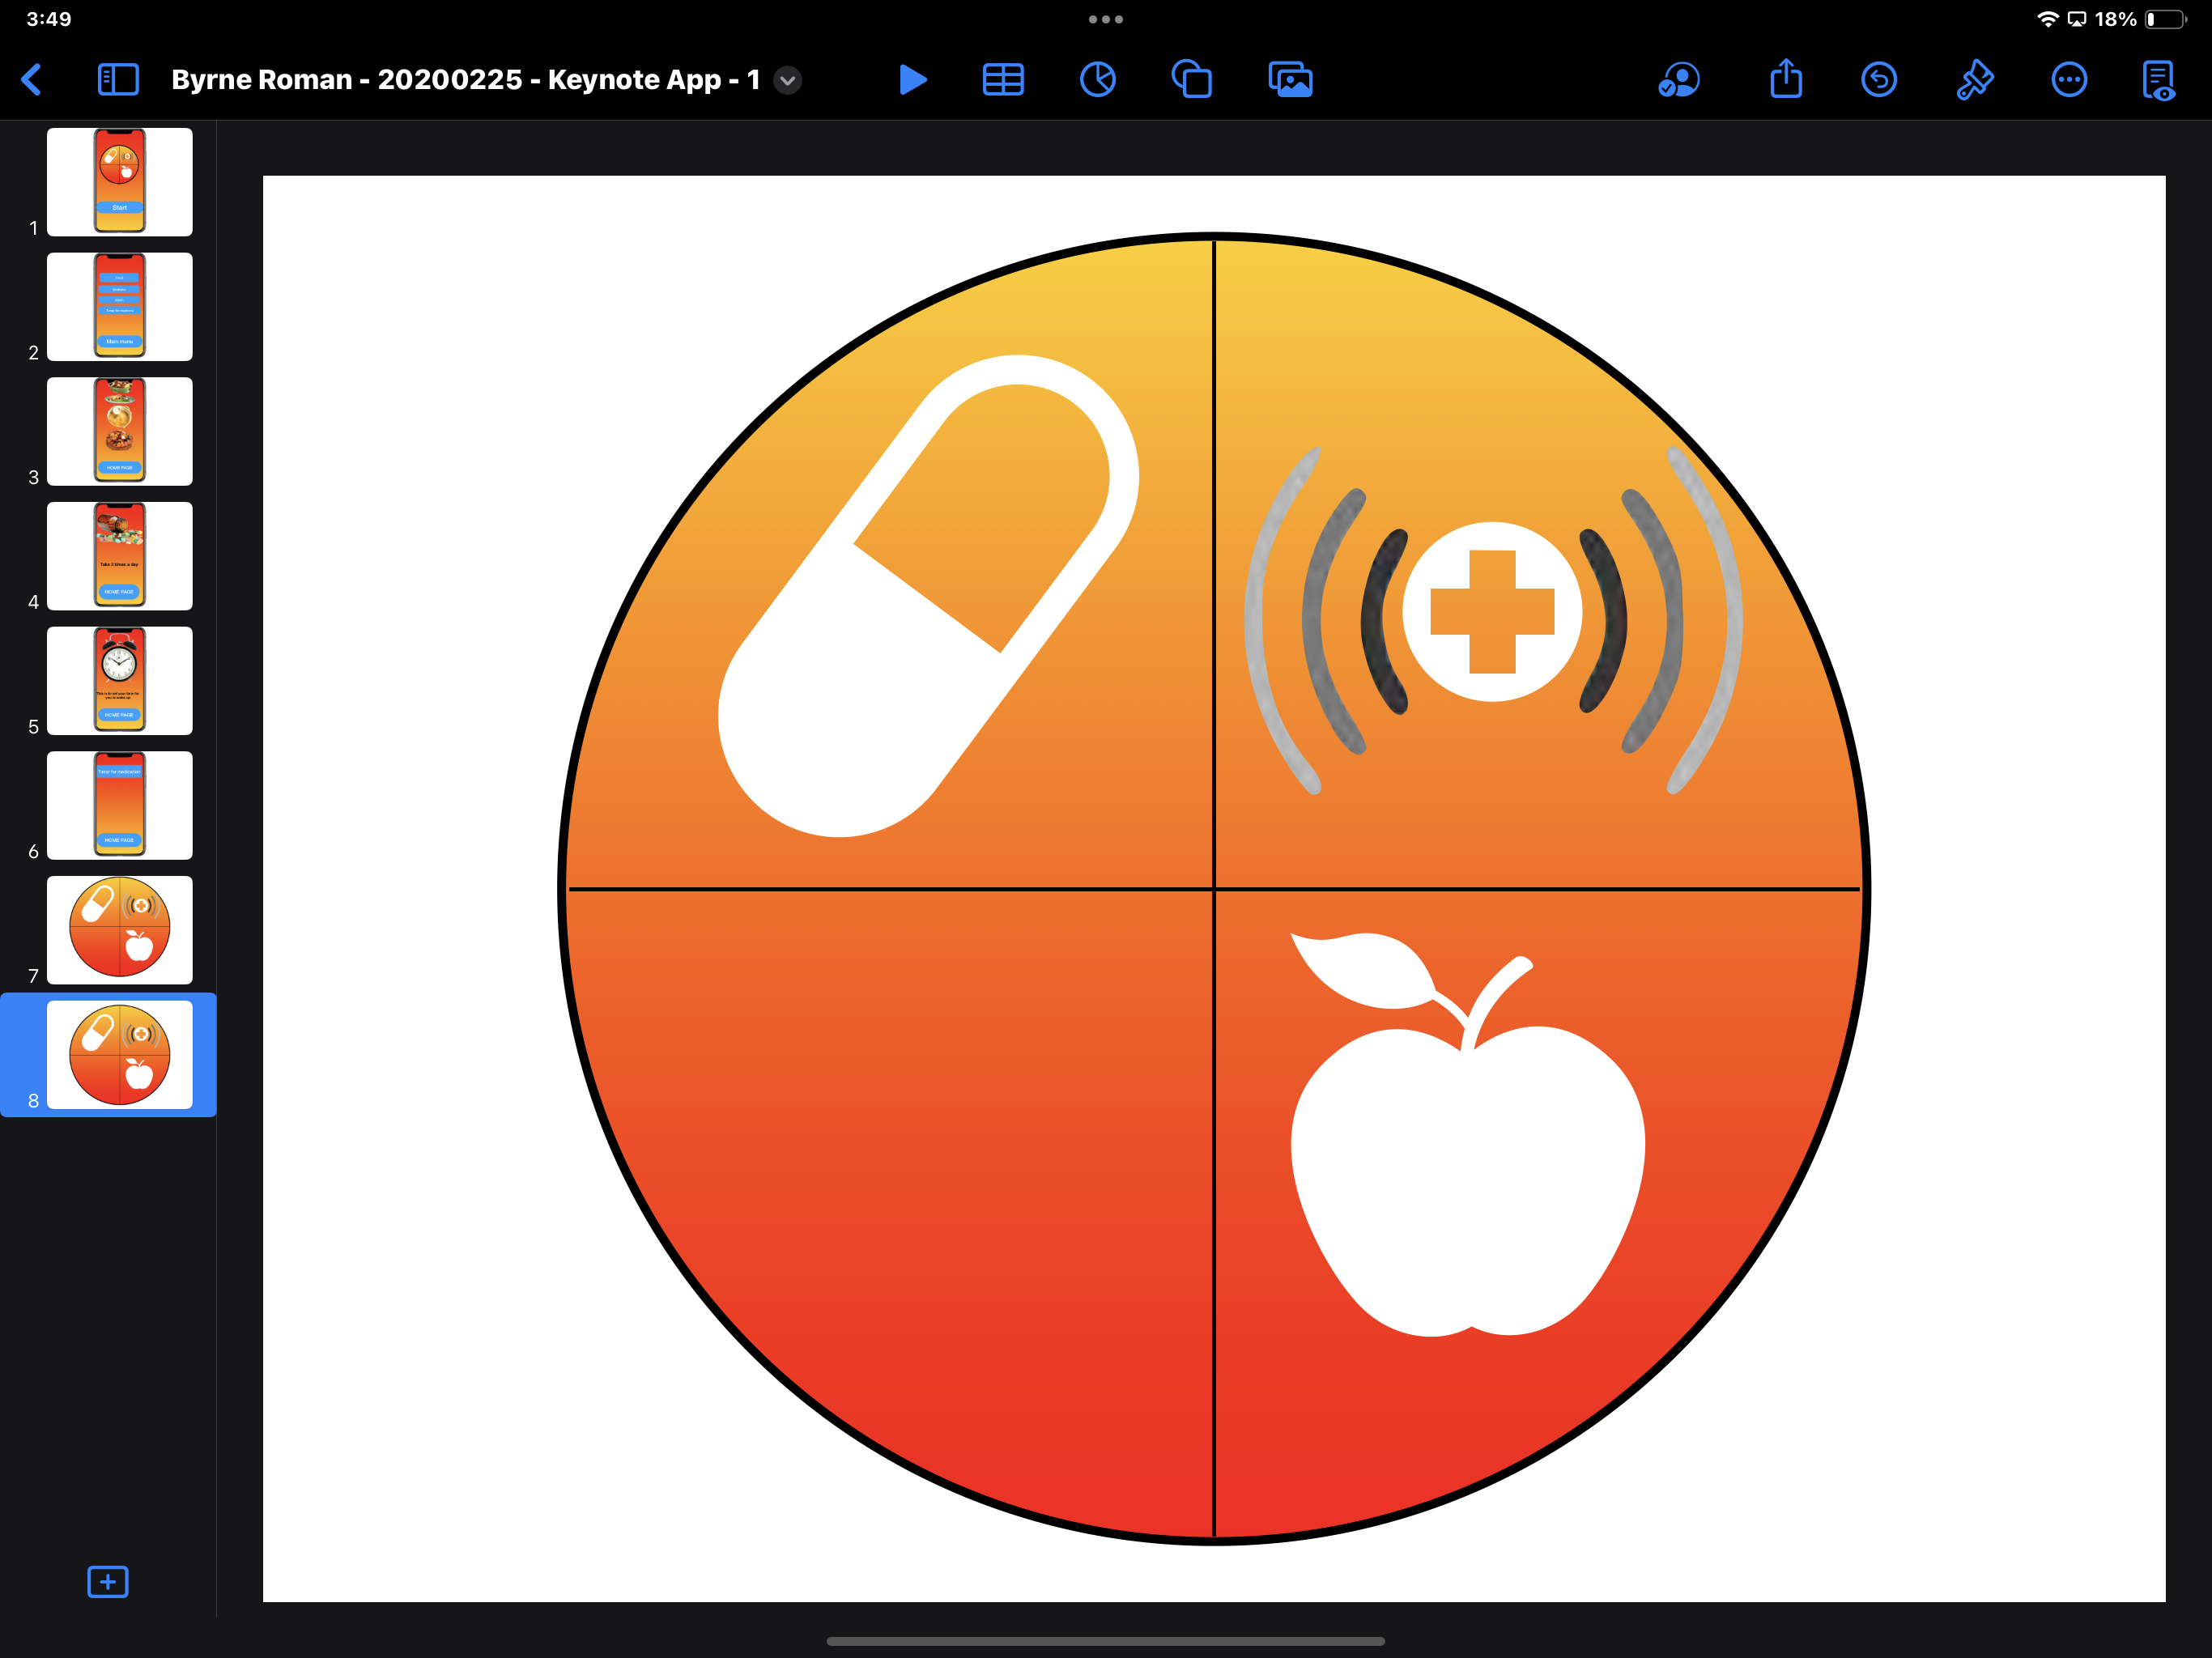
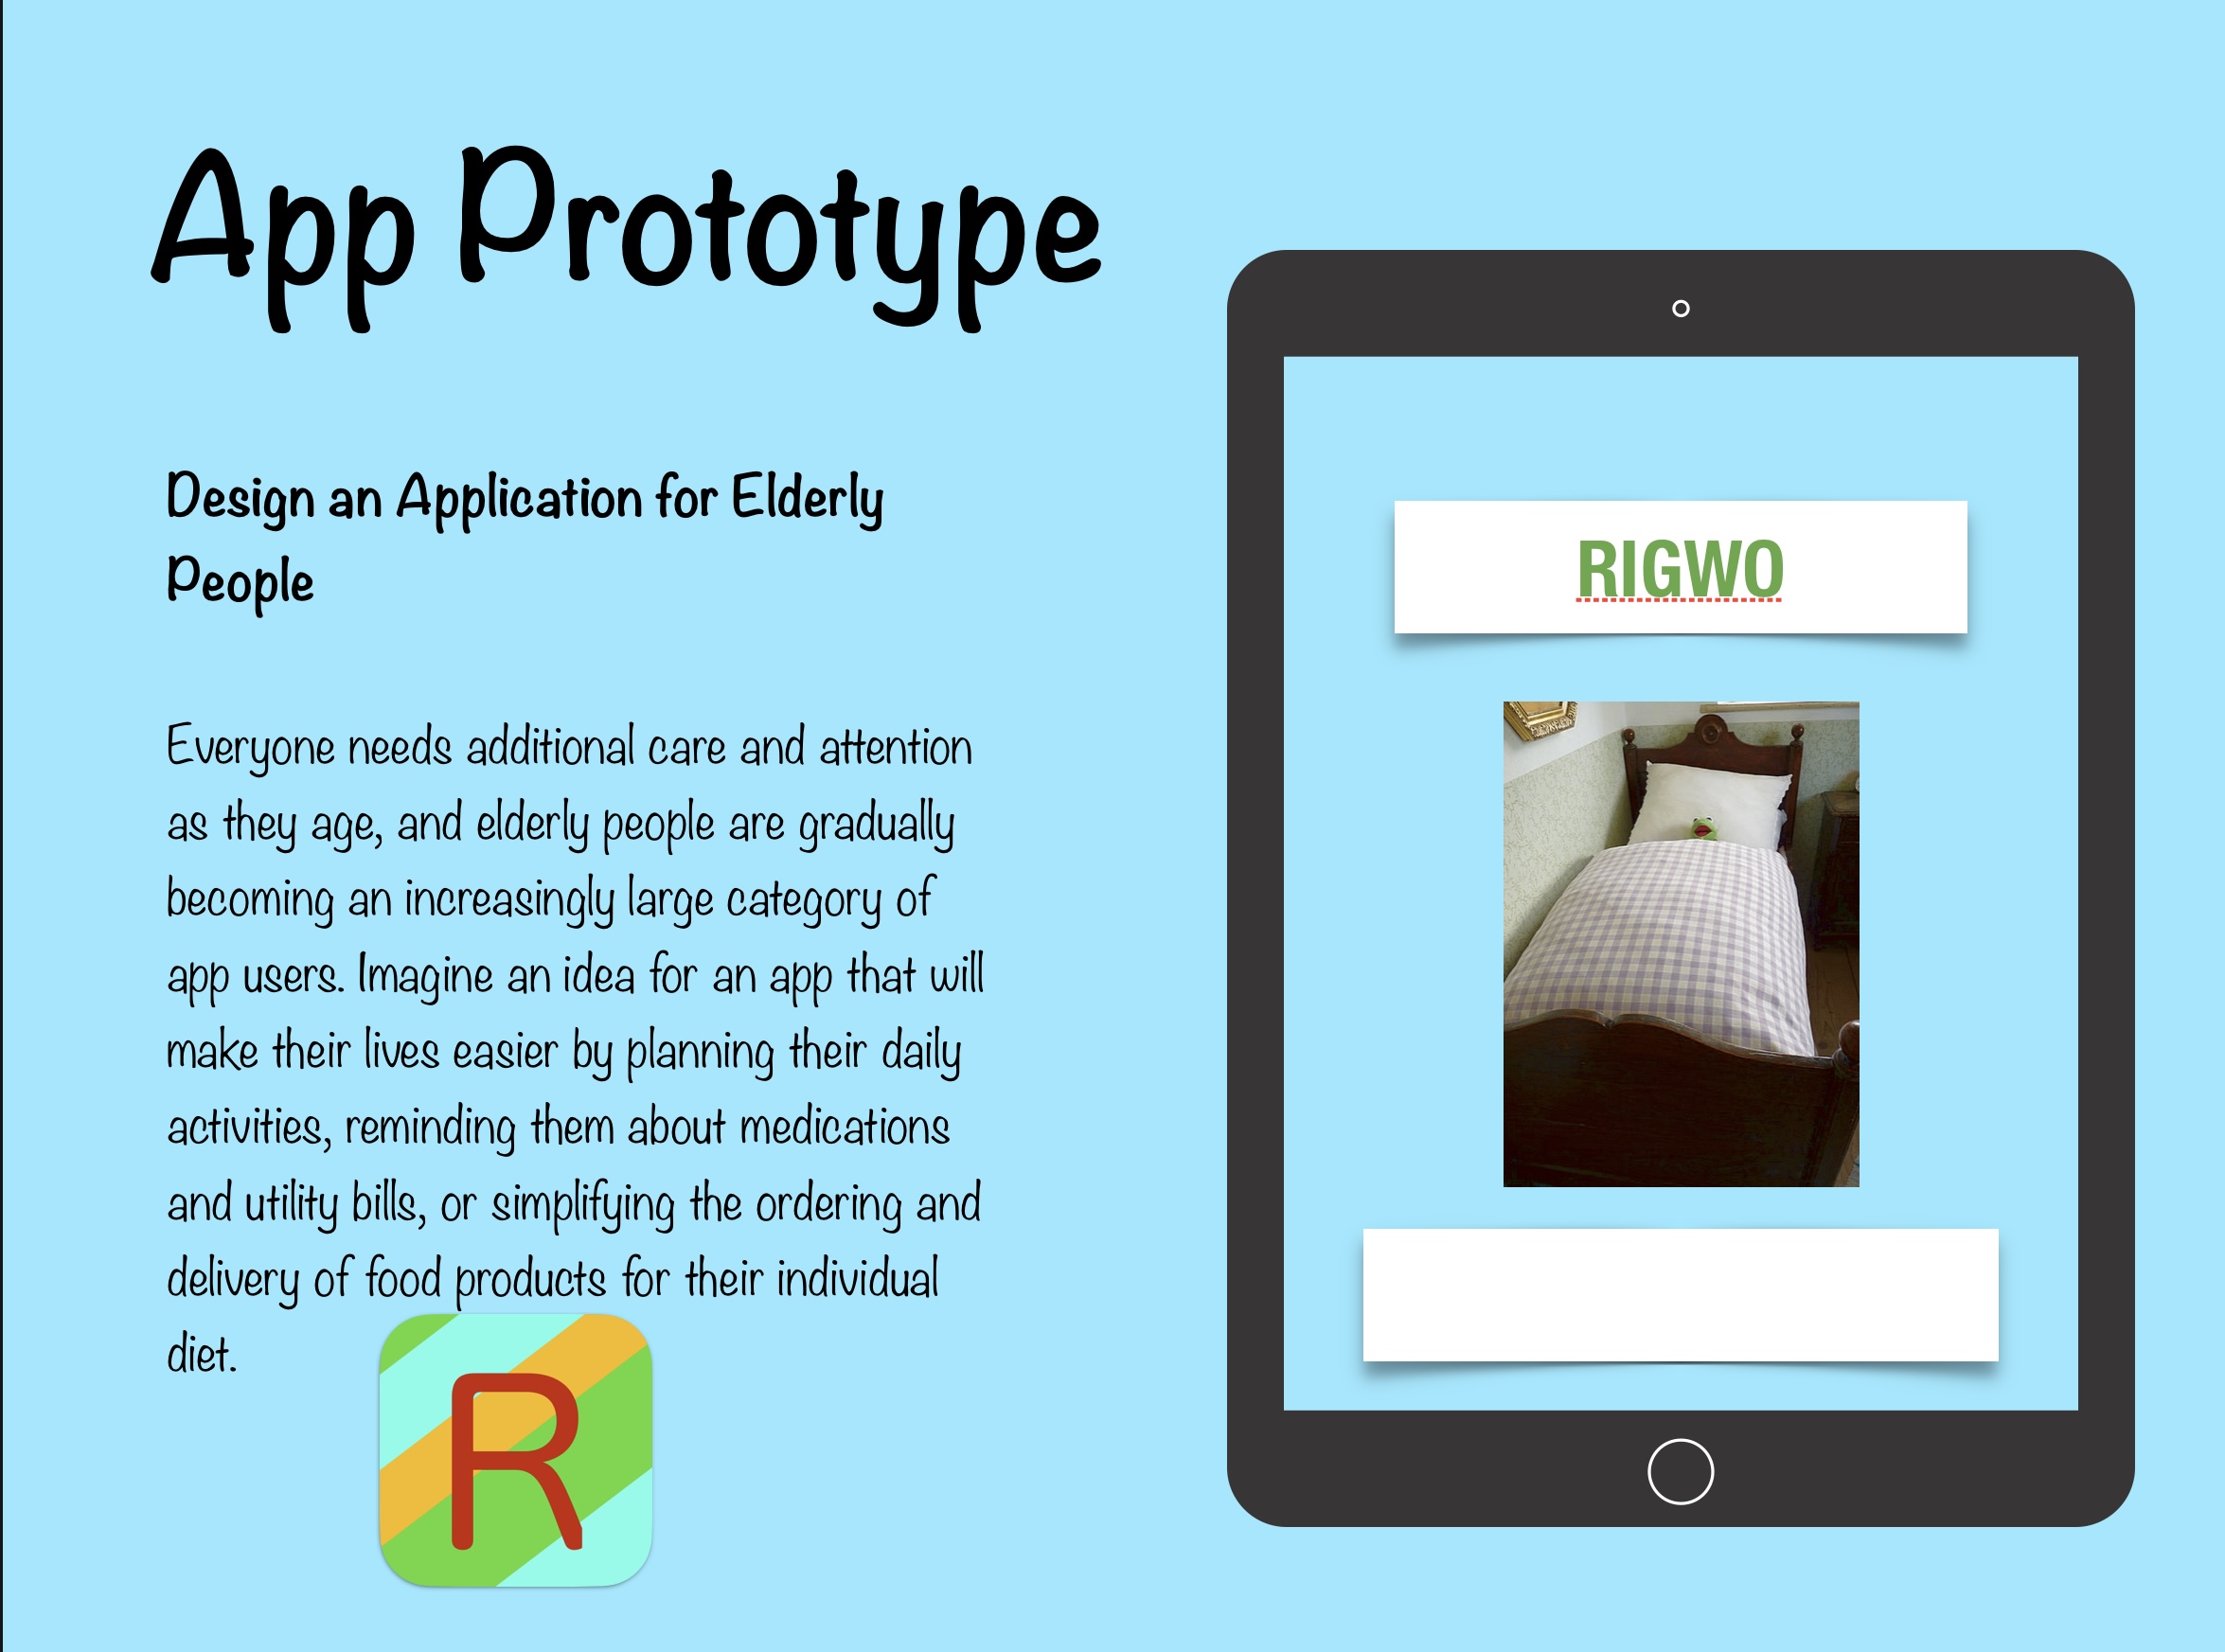
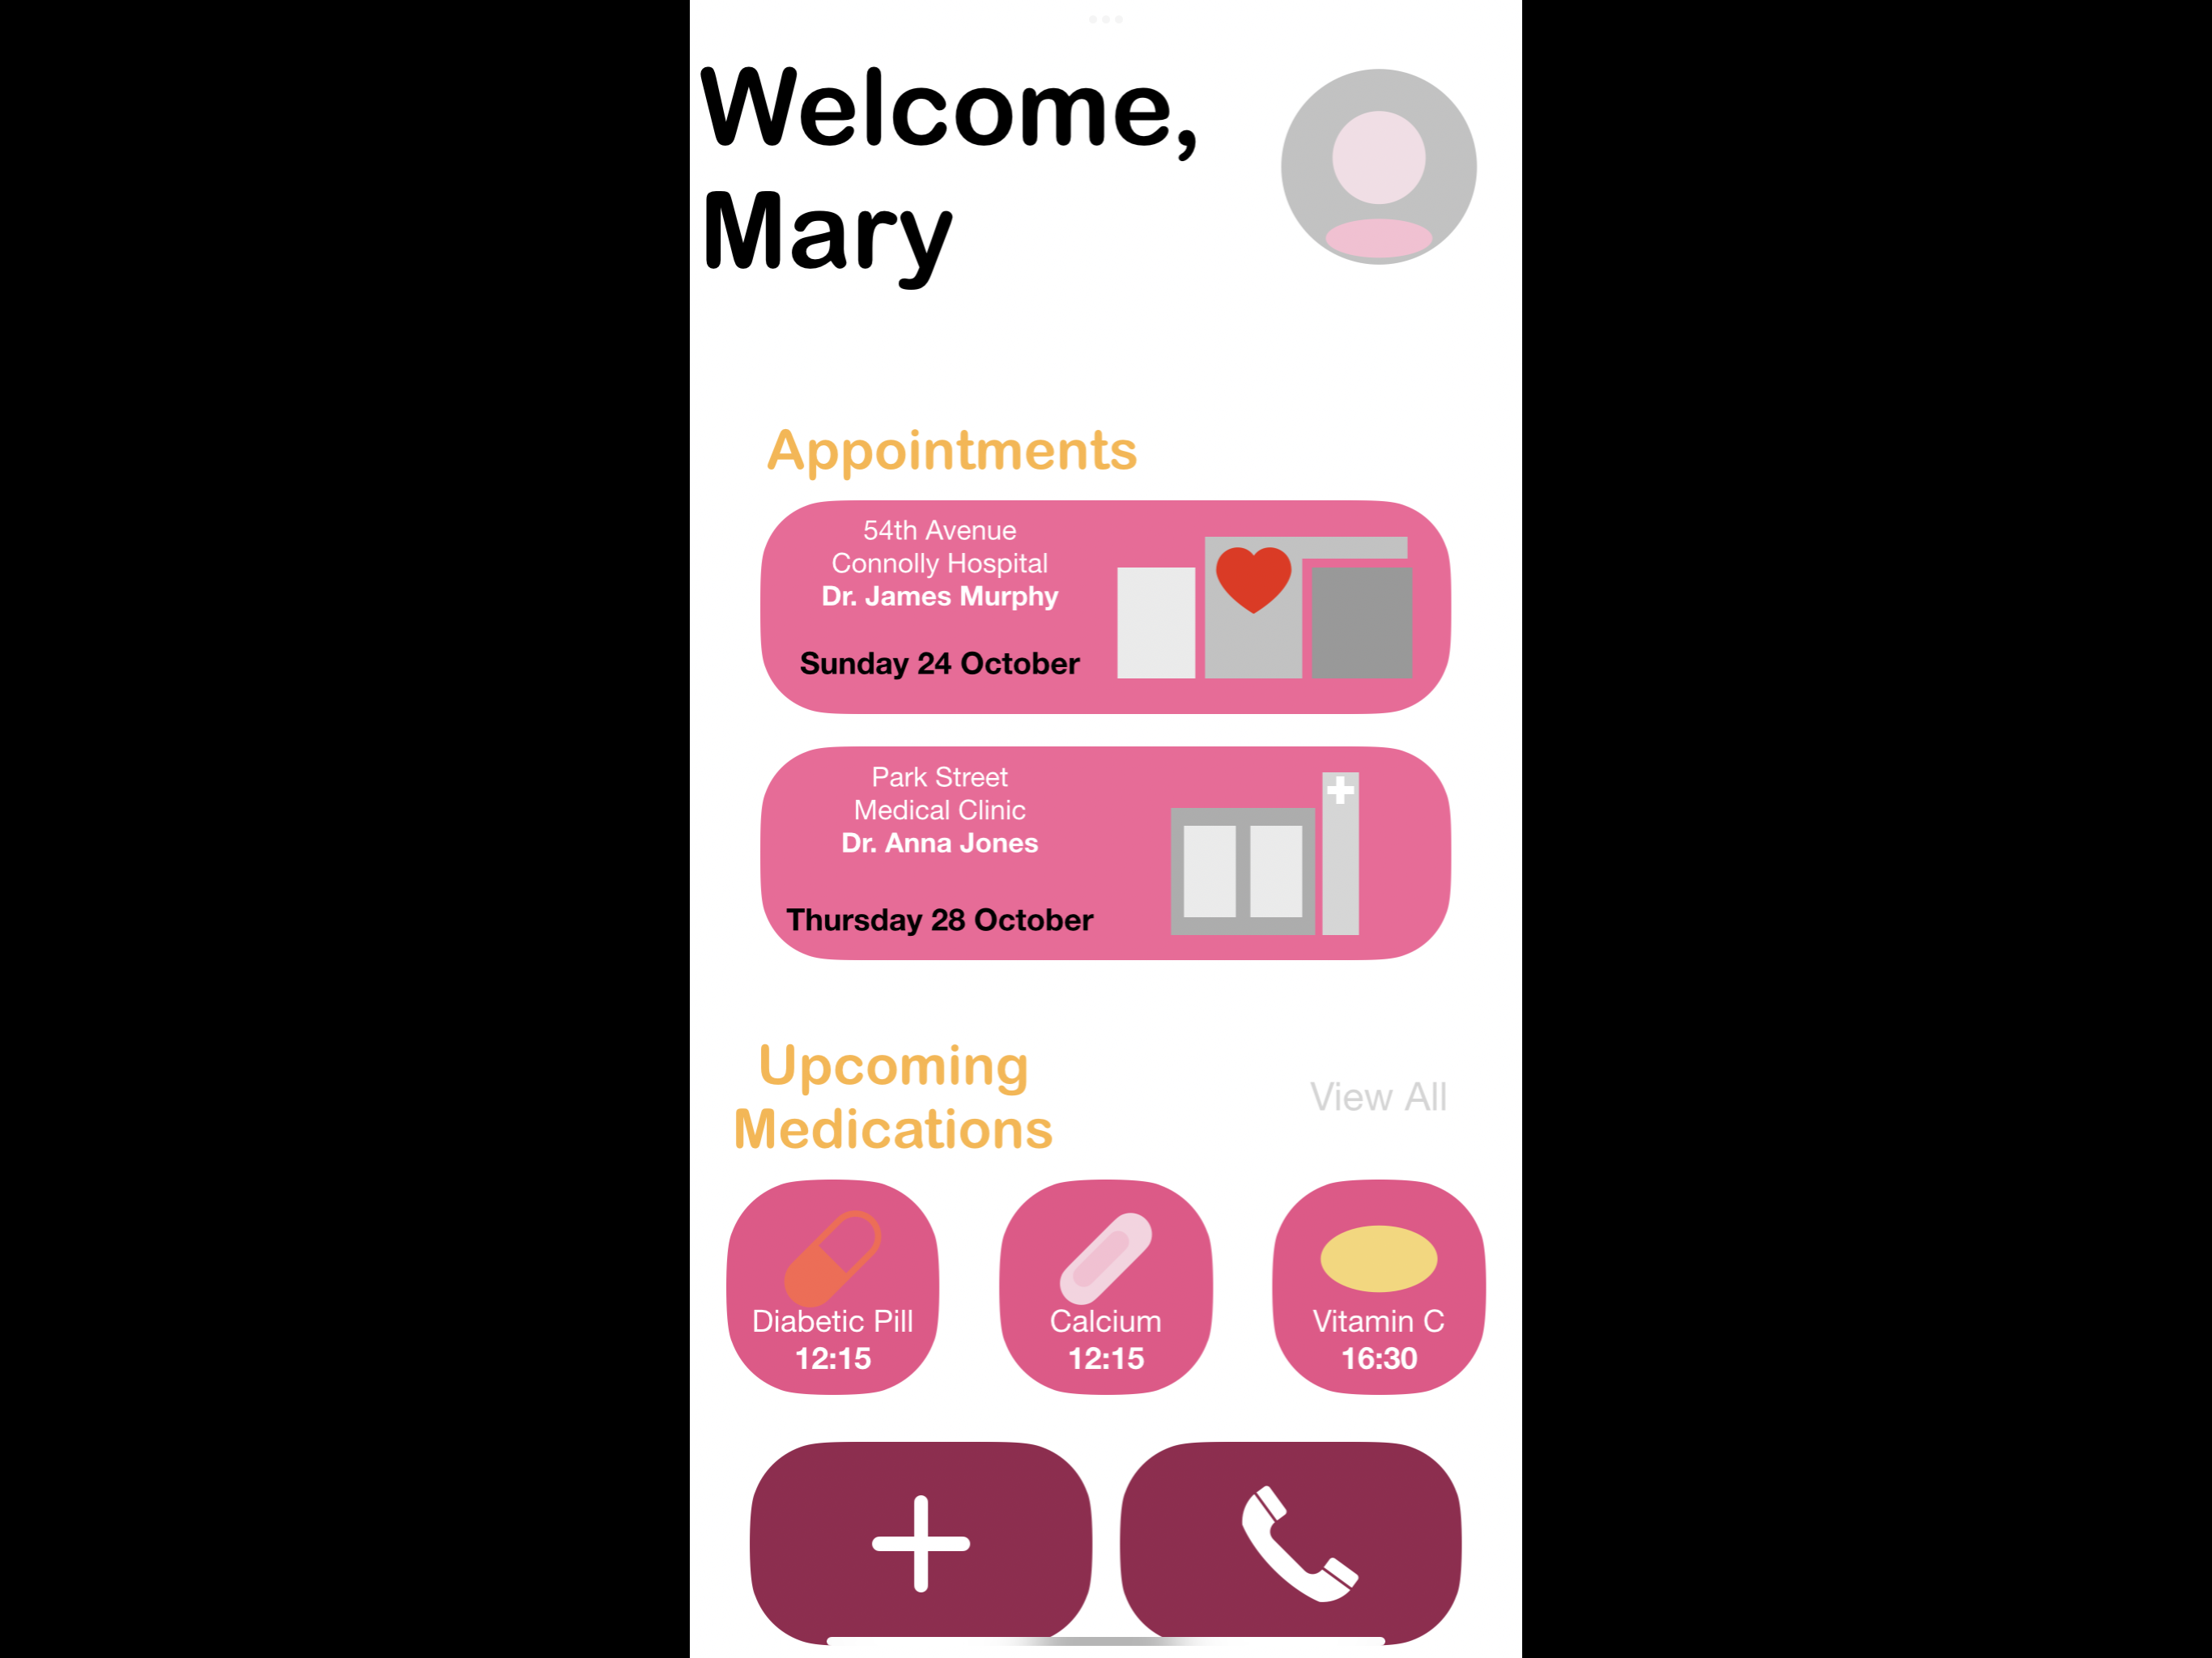
Using keynote allows students to build a mock up of what they wish their app would look like. We call this in the apple community App Prototyping with keynote. App Prototyping offers a unique way to prototype app ideas visually before diving into the technical details.
We will now explore how to effectively use Keynote for prototyping and how to get your students to transition their ideas into Swift Playgrounds for further development. Keynote provides an intuitive interface that makes it easy to create interactive prototypes.
Here are a few reasons why you might consider using it:
1. Rapid Visualisation: In Keynote your students can quickly lay out your app’s interface, including buttons, images, and text, without needing to write any code.
2. Interactive Elements: Keynote allows your students to add transitions and animations and most importantly links, giving them sense of how the app will function.
3. Collaboration: Students can use the collaboration function on keynote to split the work between the group members thus ensuring every student has a say in the app. Collaborating on keynote with you as the teacher can also allow you to give effective feedback and suggestions for improvement.
Steps to Prototype in Keynote
Now that your students have a concept and have keynote skills, it is time to get “Prototyping” using Keynote. Visit Everyone Can Create projects for more information and resources to help students build their app. By following the steps in the project above the students get to bring their concepts to life before the fatigue sets in and they give up. Following the simple steps here in this project as also a great way of scaffolding coding for our learners that may struggle.
Get Reflective
Get your students to swap apps around the class and get some peer feedback. This can be invaluable as students can gain effective communication skills and learn how to apply feedback to improve their designs. Check out the Everyone Can Create rubrics, for help with this.
Transitioning from prototype to your first app in Swift Playgrounds
Once you have a solid prototype in Keynote, the next step is to bring your ideas to life using Swift Playgrounds. This interactive coding environment allows you to experiment with Swift code and see results in real-time.
Steps to Bring Ideas to Swift Playgrounds
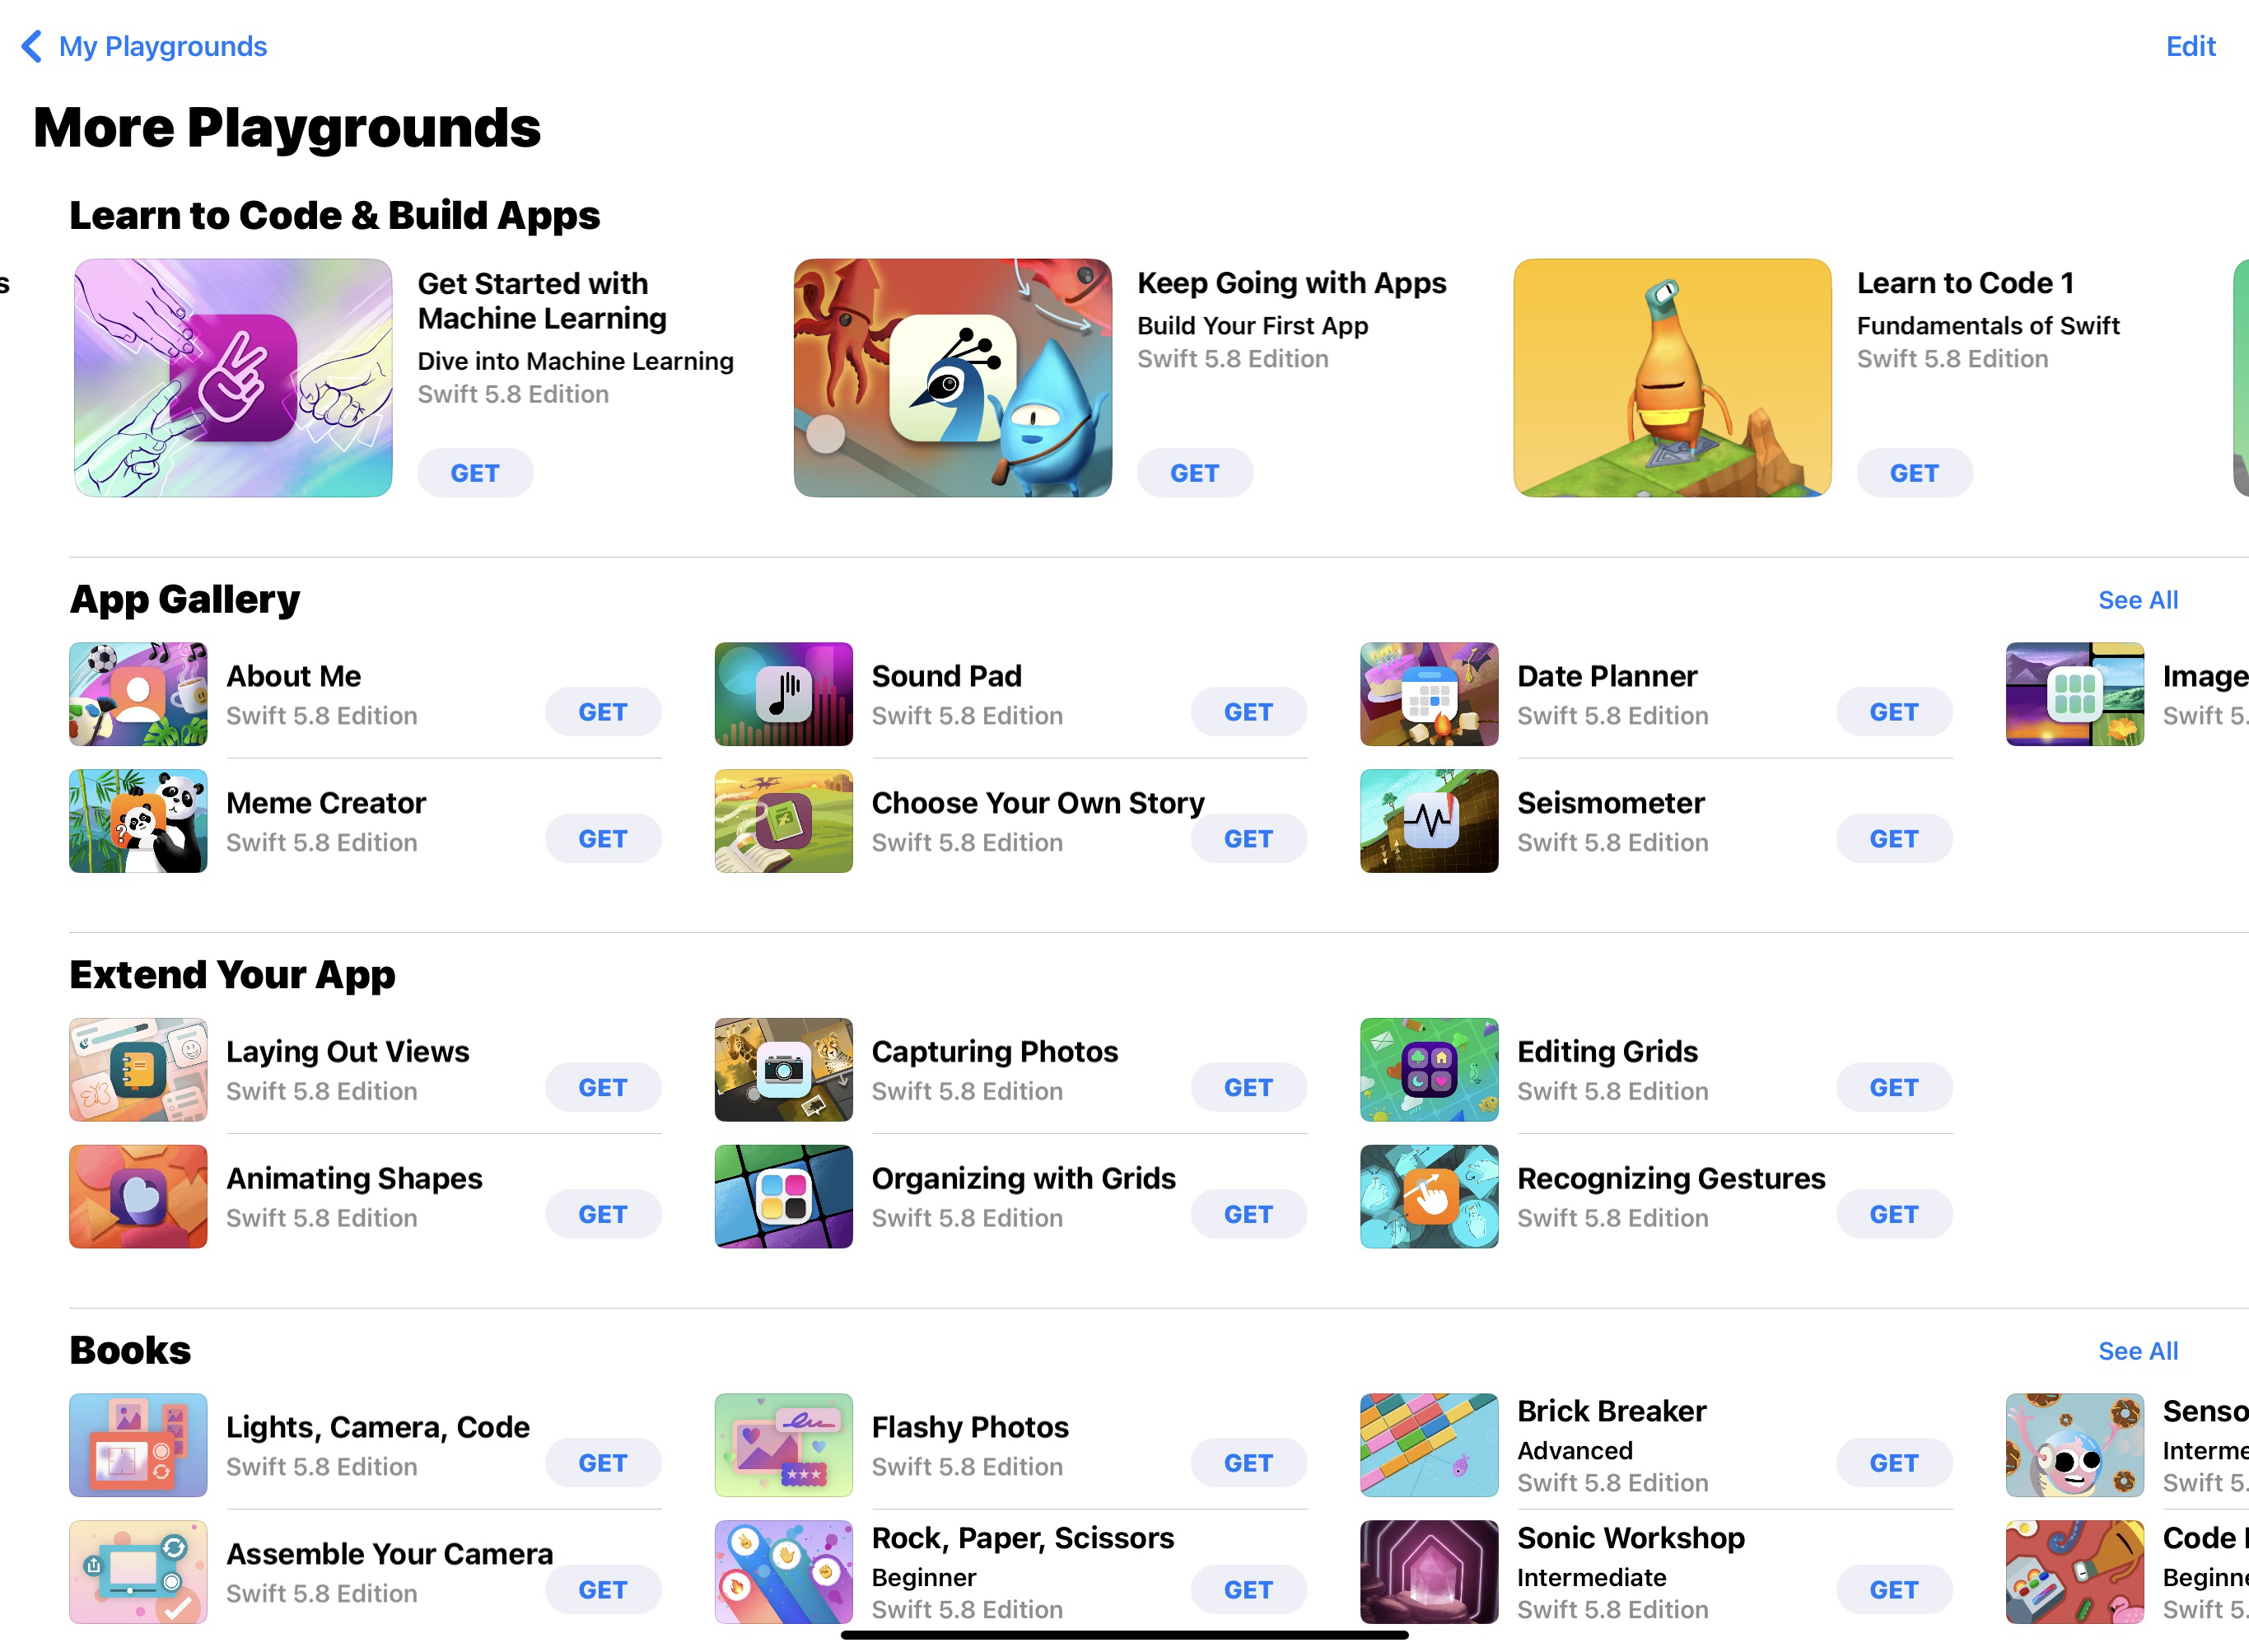
Familiarise Yourself with Swift Playgrounds: If you’re new to Swift, take some time to explore the built-in lessons and challenges in Swift Playgrounds. They provide a great foundation for understanding the language of coding. See information here on how to do this. Following on from this you may wish give students some more practical practice on developing their coding skills. You can do this by moving on to more project work like the “build with stacks and shapes”, “build custom shapes” and the “design an app logo” activities on the apple learning centre.
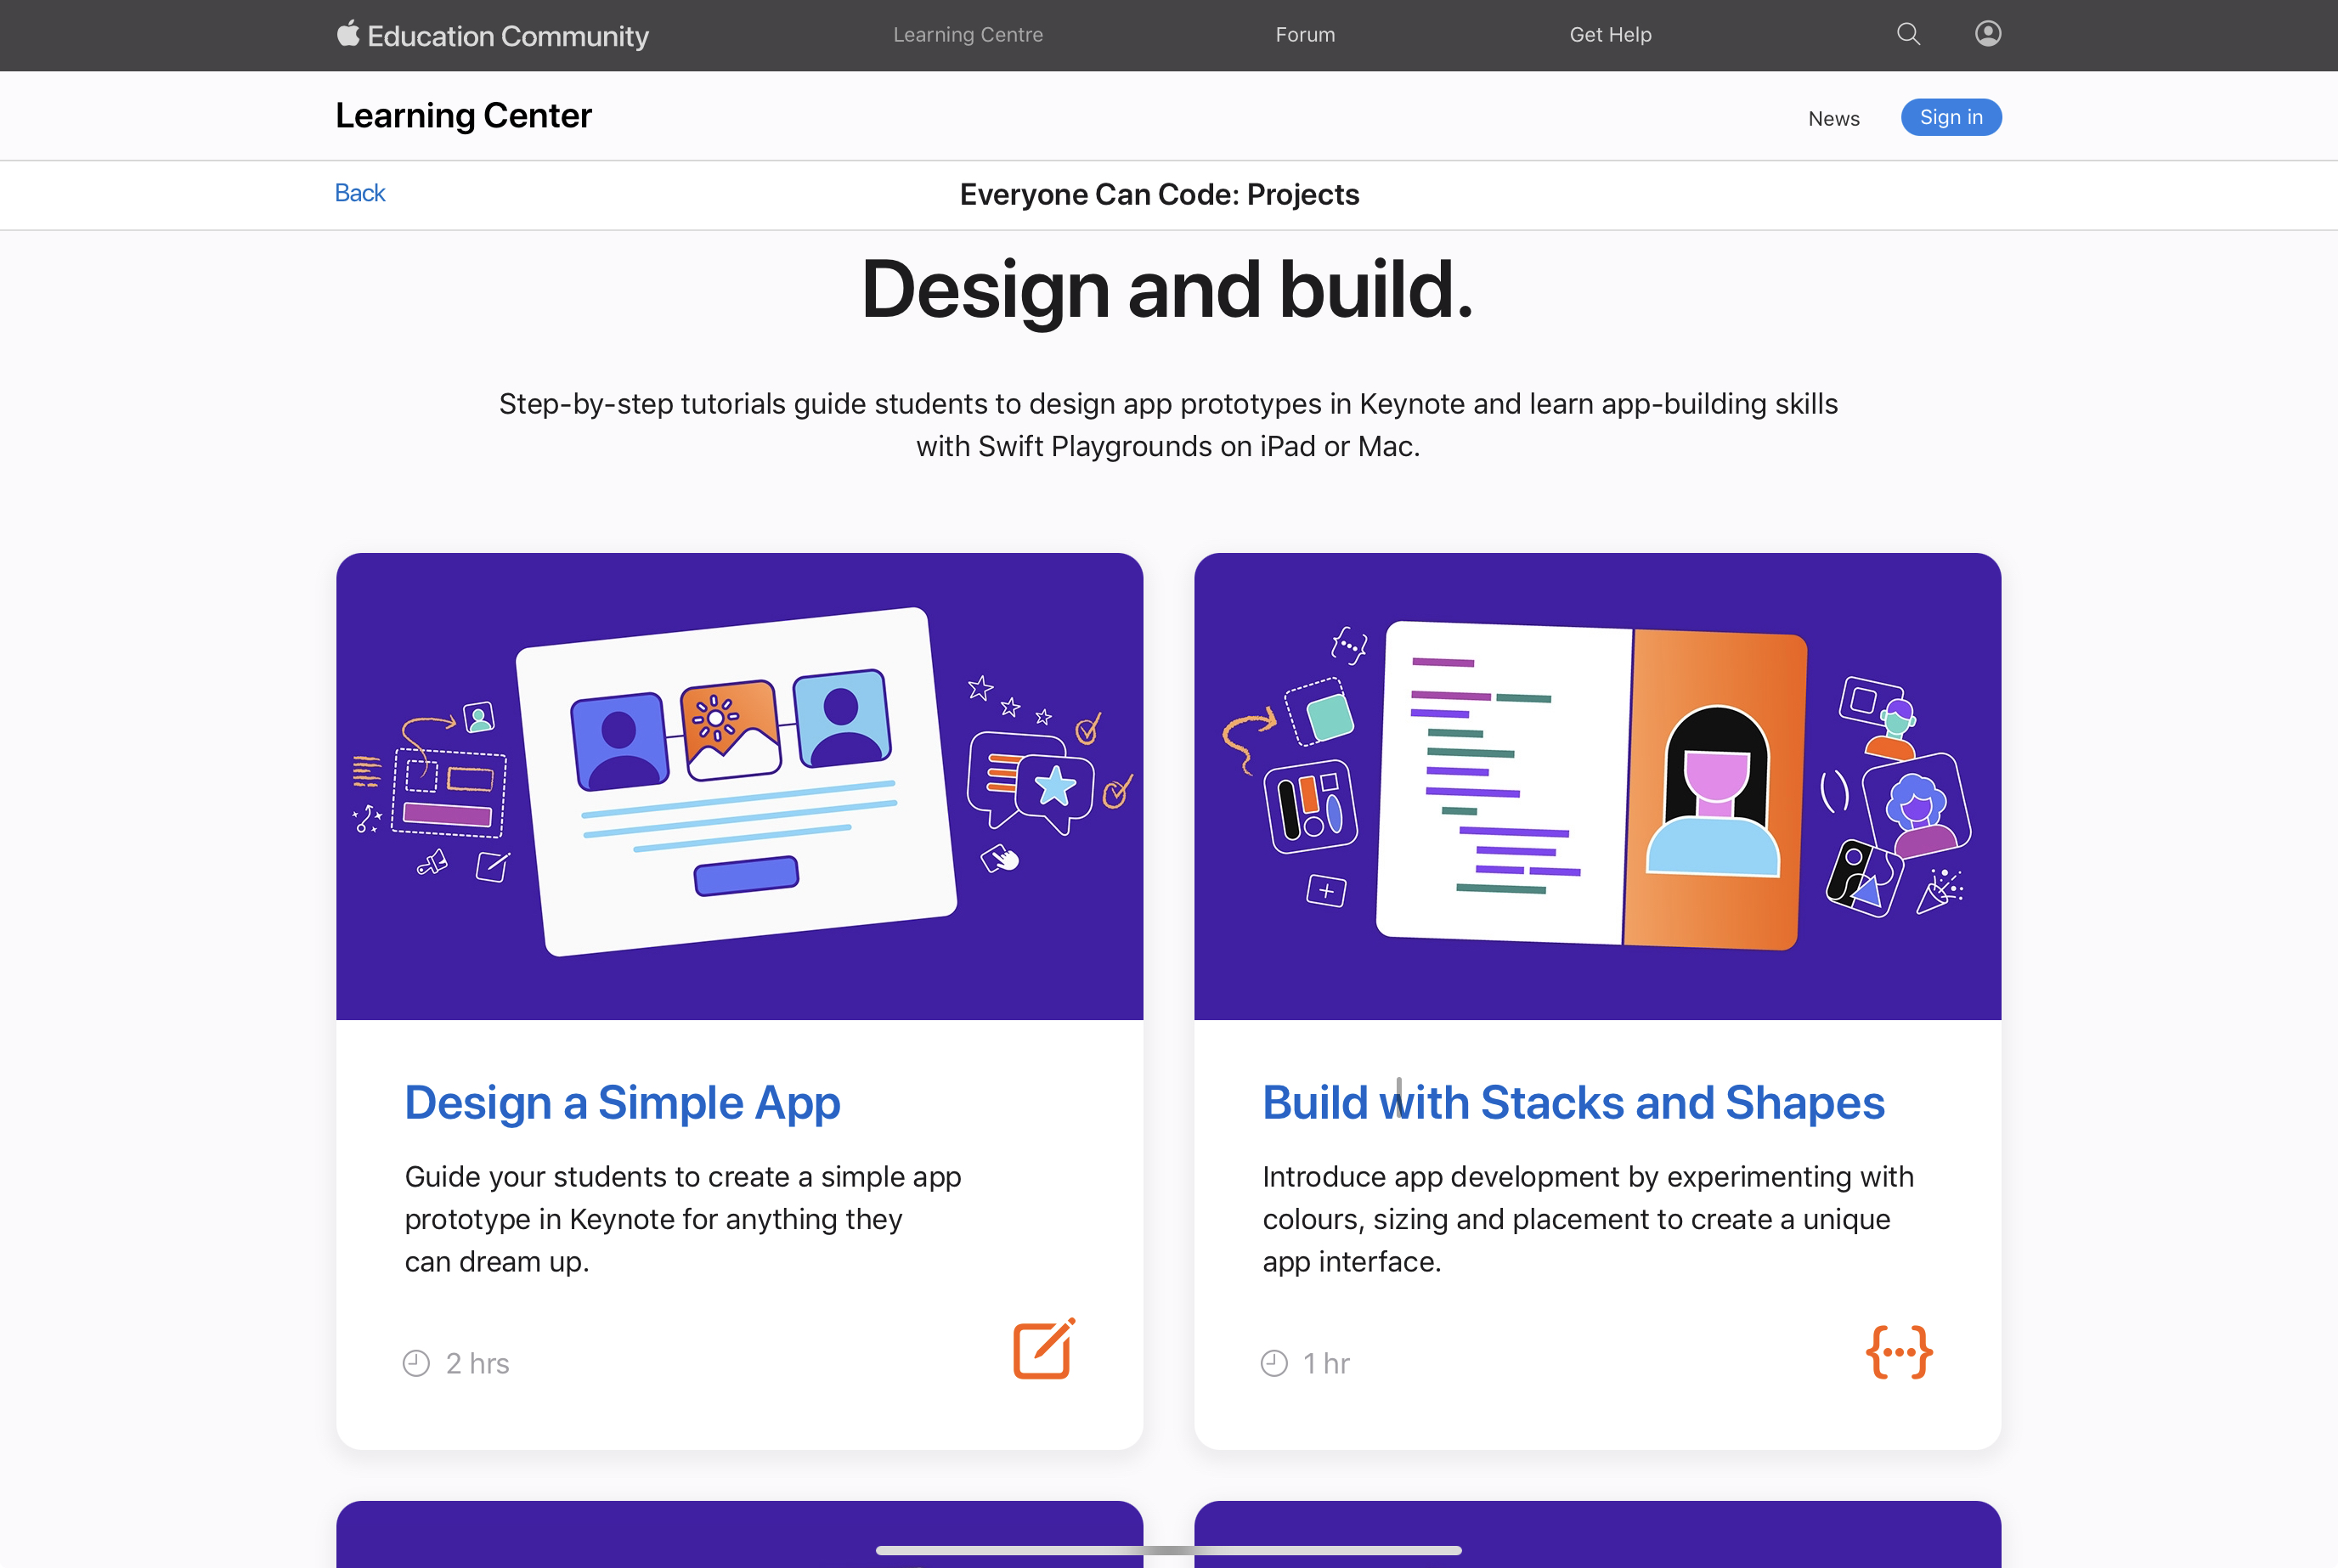
Once your students feel confident in swift you can now link back to their original prototypes and get them to start bringing their concepts to life.
If students want to add additional skills or functionality to their apps they can explore the built in swift playgrounds. These contain code sequences which students can copy and adapt to add to their own apps.
Some Examples From Our Classrooms
Resources for Further Learning
To support your journey in app development with Keynote and Swift Playgrounds, check out these valuable resources from the Apple Education Community:
Apple Teacher Learning Center: A great starting point for educators and students to explore Apple’s tools.
Using Keynote to prototype your app ideas can save valuable time and help your students build confidence with coding. The computational thinking skills from the app prototyping section will help build student resilience when it comes to creating the app in swift and help prevent fatigue and overwhelm. Transitioning those initial app ideas into Swift Playgrounds allows the students to explore app development interactively. With the right tools and resources, they will be well on their way to bringing their app ideas to life.
Happy prototyping!
